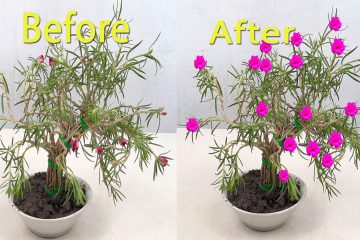
. Choose the Right Cuttings:
- Timing: The best time to take cuttings is during late spring, early summer, or even early fall when the plant is actively growing. Some sources suggest success with hardwood cuttings in winter, but semi-hardwood is generally preferred.
- Type of Wood: Look for “semi-hardwood” cuttings. This means the stem is mature enough to be firm but still flexible and not fully woody and brown. Avoid new, soft green growth and very old, woody stems.
- Length: Aim for cuttings 6-8 inches (15-20 cm) long, with at least 3-4 nodes (where leaves or branches emerge).
- Health: Select healthy, disease-free stems from a vigorous parent plant.
2. Prepare the Cuttings:
- Clean Tools: Use sharp, clean pruning shears or a knife to make your cuts. This prevents crushing the stem and reduces the risk of disease. Sterilize your tools with rubbing alcohol or hydrogen peroxide.
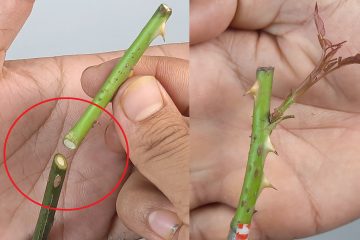
- Bottom Cut: Make a diagonal cut just below a leaf node at the bottom of the cutting. This increases the surface area for root development.
- Remove Leaves and Thorns: Strip off all leaves from the lower half to two-thirds of the cutting. This reduces moisture loss and prevents them from rotting in the soil. Carefully remove any thorns as well.
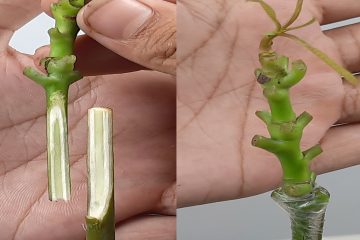
- Wounding (Optional but Recommended): Gently scrape off a small strip of bark (about 0.5 inches or 1.25 cm) on one side of the stem at the base of the cutting. This “wounding” exposes the cambium layer, which promotes rooting.
- Rooting Hormone: Dip the cut end of the cutting into a rooting hormone powder or liquid. Tap off any excess. Rooting hormone contains auxins that stimulate root growth and can significantly improve success.
3. Prepare the Potting Medium:
- Well-Draining: Bougainvillea needs excellent drainage to prevent rot. A good mix would be:
- Equal parts of commercial potting soil, organic compost, and sand.
- A mixture of perlite and peat moss (1:1 ratio).
- Commercial rooting medium designed for cuttings.
- Container: Use small pots (2-3 inches or 5-7.5 cm) with drainage holes. You can also plant multiple cuttings around the rim of a larger pot, as some people find this promotes better rooting due to warmer edges.
- Moisten: Thoroughly moisten the potting mix before inserting the cuttings.
4. Plant the Cuttings:
- Create a Hole: Use a pencil or similar object to make a hole in the moist potting mix. This prevents scraping off the rooting hormone when inserting the cutting.
- Insert Cuttings: Carefully insert the prepared cutting into the hole, sinking it about 1.5-2 inches (3.8-5.1 cm) deep. Gently firm the soil around the cutting to ensure good contact.
- Spacing: Plant only one cutting per small pot, or space them adequately if planting in a larger container to prevent competition.


